Soil blocking is an alternative to traditional seed starting methods like planting seeds in pots or trays filled with soil or seed starting mix. In soil blocking, seeds are planted in blocks of soil that are created using a soil blocker tool. I love it, even though I still use both methods, soil blocking has definitely taken over.
Advantages of soil blocking:
-
Space-saving: Soil blocks take up less space than seed trays, making them ideal for gardeners who have limited indoor space for starting seeds.
-
Reduced transplant shock: Since soil blocks are made from soil, the seedlings are already growing in the same medium that they will eventually be planted in. This reduces the risk of transplant shock and improves the chances of success for seedlings.
-
Better root development: Seedlings grown in soil blocks have better root development compared to those grown in pots, as the soil blocks provide a more aerated and less compact environment for the roots to grow in.
-
Cost-effective: Soil blocking is a cost-effective way to start seeds, as you can make your own soil blocks and reuse the soil blocker tool year after year.
-
Environmentally friendly: This one's obvious but soil blocking is an environmentally friendly method as it eliminates the need for plastic pots.
There are a few different soil blocker types: 1 blocker, 5 blocker, 4 blocker, 20 blocker, etc. The 4/5 soil blockers are great for bigger seeds like pumpkins and squash and the small 20 soil blockers are good for very tiny seeds like celery, snapdragons, onions, etc. Make sure to grab the one that best fits your needs!
I have two different kinds and I love them both (here is our amazon link below):
If you want to start soil blocking, you will need the following materials:
- A soil blocker tool
- Garden soil or seed starting mix
- A container to mix the soil in
- Seeds of your choice
NOTE: I always mix my soil with peat moss and a little bit of compost too.
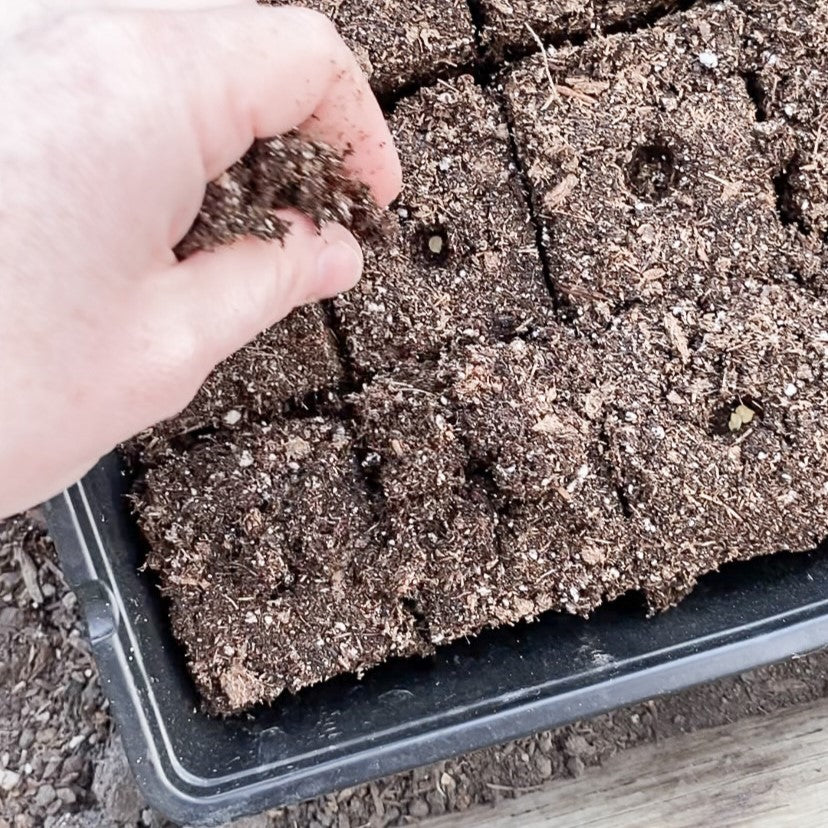
To start soil blocking, first mix together the soil or seed starting mix with a little bit of water until it reaches a damp, but not wet, consistency. Then, use the soil blocker tool to create soil blocks of the desired size. Place one seed in each soil block and water the blocks lightly. Place the soil blocks in a warm, bright location and keep the soil moist until the seeds have germinated and the seedlings are ready to be planted in the garden.
Happy soil blocking! Let me know how it goes!